Todays video tutorial is a follow up to yesterdays initial Introduction to Captiva Theme Options. Today we dig a little deeper into how to manage WooCommerce settings within the Captiva Theme Options panel.
In case you haven’t figured it out yet, we’re huge fans of WooCommerce 🙂 Within the core of WooCommerce there are just enough settings to not put off first time users to get a store up and running quick smart with minimum fuss. Compare this to Magento where you’ll need about a week to figure out some of the basics! WooCommerce subscribes to the same ethos of WordPress itself which is to keep the core as light as possible and use plugins and extensions to customize things to your specific requirements.
With that in mind, we’ve baked in some additional configuration options for WooCommerce within the Captiva theme that help store owners to finely tune their WooCommerce store as quickly as possible.
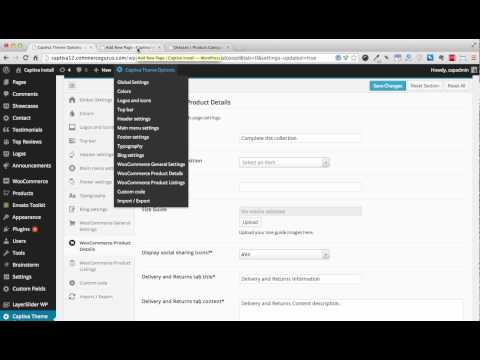
When creating our WooCommerce theme options we tried to group settings into categories that we felt would make sense to store owners. These categories are:
- WooCommerce General Settings – these are settings that are not specific to one WooCommerce page template. Think of these as global WooCommerce settings that use a series of WooCommerce hooks and filters under the hood to change and tweak WooCommerce behavior. This includes things like Catalog mode, price and category display and credit card icon display.
- WooCommerce Product Details – these are settings all to do with the single item view or as we like to call it, the Product details page. This includes things like whether you would like to display a Size Guide, your Returns policy, social sharing icons and your up sell title.
- WooCommerce Product Listings – these are settings that change your product listings view which includes things like the number of items per page, the number of product columns, grid/list layout and whether you wish to display Shop announcements (which is unique to Captiva via our Captiva Toolkit plugin).
Remember if you like what you see in today’s video you can purchase Captiva today over on ThemeForest. If you’re a WooCommerce newbie we also provide a free installation service to get you up and running with your own WordPress powered online shop in no time!
If you prefer to go through the install and setup process on your own, be sure to read the documentation that comes with the theme and check out our other Captiva videos over on our Youtube channel.
Anyway on with today’s video tutorial – we hope you enjoy it!

 The Ultimate Guide to eCommerce Accessibility
 Setary Review: Bulk Edit Products in WooCommerce
 Why You Should Use Exit Intent Popups on Your eCommerce Store
 BigCommerce Review: Is It the Right eCommerce Platform for You?