Before you start, ensure that:
- You have your own hosting platform. If you need hosting we recommend SiteGround.
- You have installed the latest version of self-hosted WordPress.
- You have logged in to WordPress and are looking at the WordPress dashboard.
- You have installed and activated the WooCommerce plugin. CommerceGurus Popups is built specifically for WooCommerce stores.
This guide explains how to install and activate the CommerceGurus Popups plugin.
1. Login to your CommerceGurus account
After purchasing the CommerceGurus Popups plugin you will have received an email with your CommerceGurus account credentials.
Using these, login to your CommerceGurus account. We recommend storing these details somewhere safe, such as within a Password Manager like Bitwarden.
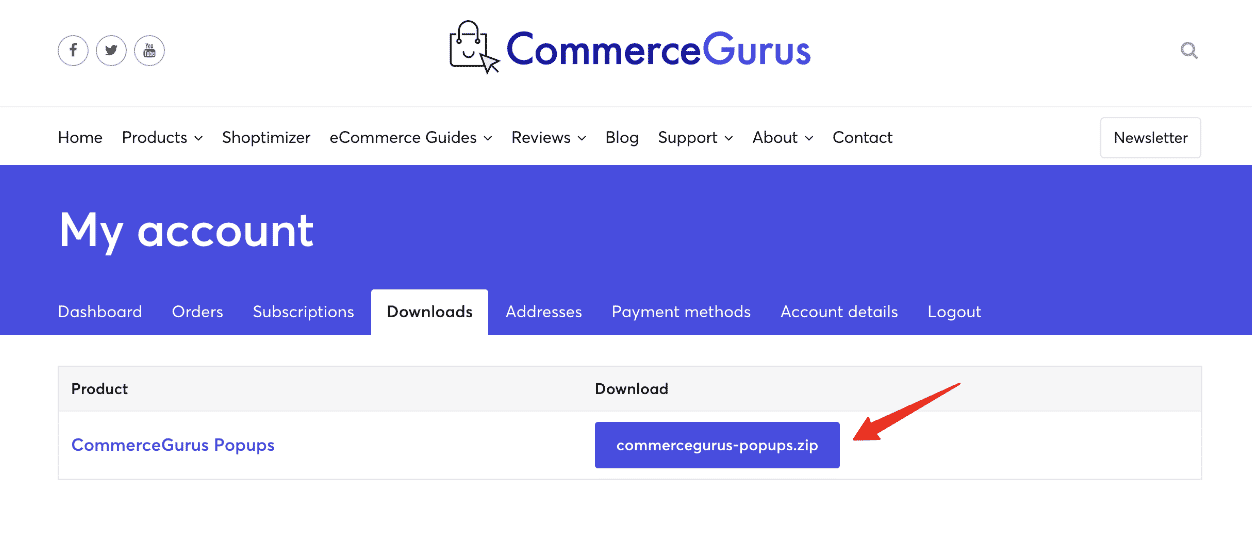
2. Download the plugin zip file
Within your downloads area you will find a link to download the CommerceGurus Popups plugin zip file to your computer.
3. Add your domain
While here, you can also include your domain within the Subscriptions area. This will enable one-click plugin updates in the future.
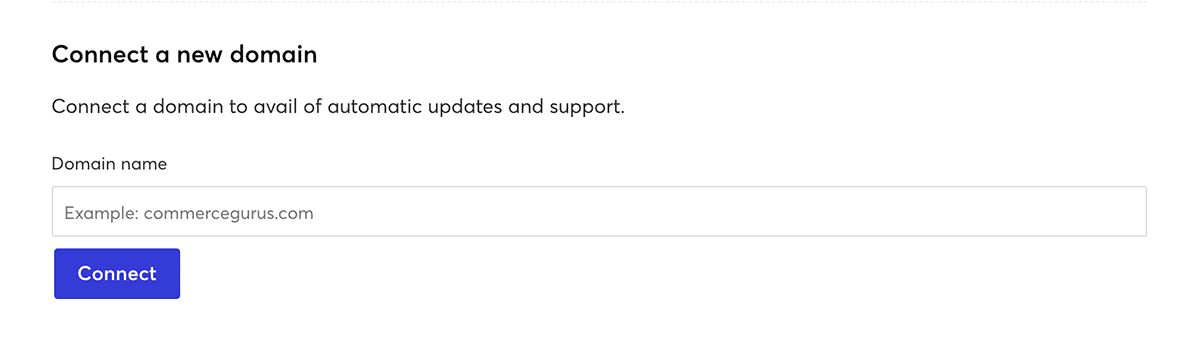
Make sure you don’t enter the https, http, or www part of your web address. So just enter mystore.com for example if that’s your site URL.
4. Upload the CommerceGurus Popups zip file
Within your WordPress admin area, go to Plugins, click Add New Plugin, and then Upload Plugin.
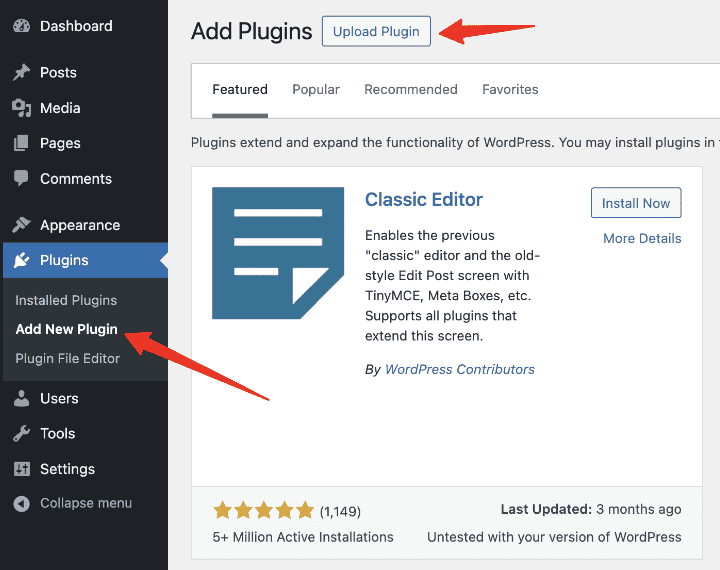
Choose the zip file you have downloaded earlier and once it has been uploaded successfully, click the Activate Plugin button.