It’s easy to add your own logo to the site to give it some instant brand recognizability. To do so, open the customizer. Appearance > Customize.
Next, go to General > Site Identity. Here, you can upload a logo image as well as a favicon – the little icon that appears within a browser tab.
When adding a logo image ensure that you click on Skip cropping. This is important.
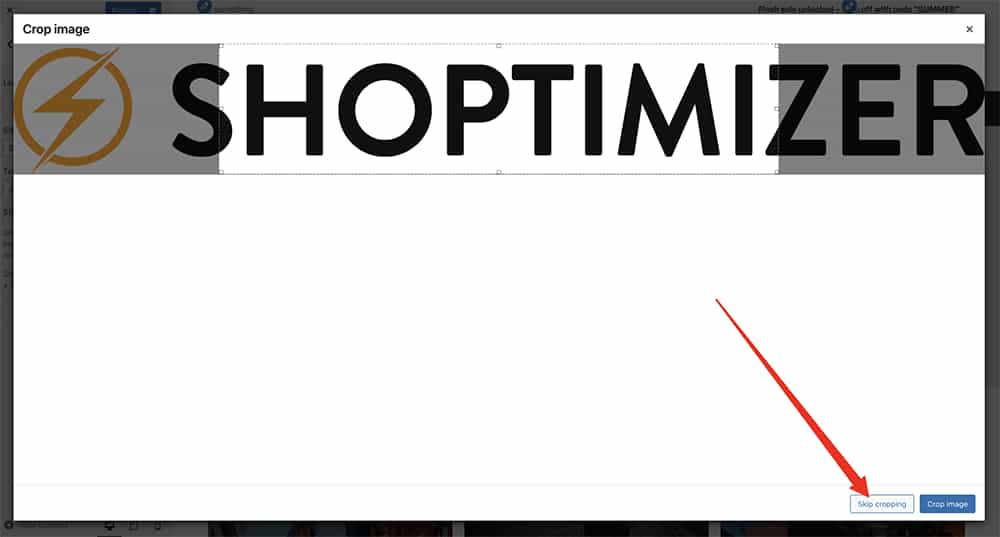
This will ensure that the aspect ratio of the logo you upload is maintained.
Within General > Site Logo – you can adjust the height of the logo in pixels. This will proportionally also adjust the width.
Mobile Logo
To edit the Mobile Logo size, you’ll find that option within:
Appearance > Customize > Header and Navigation > Mobile Header
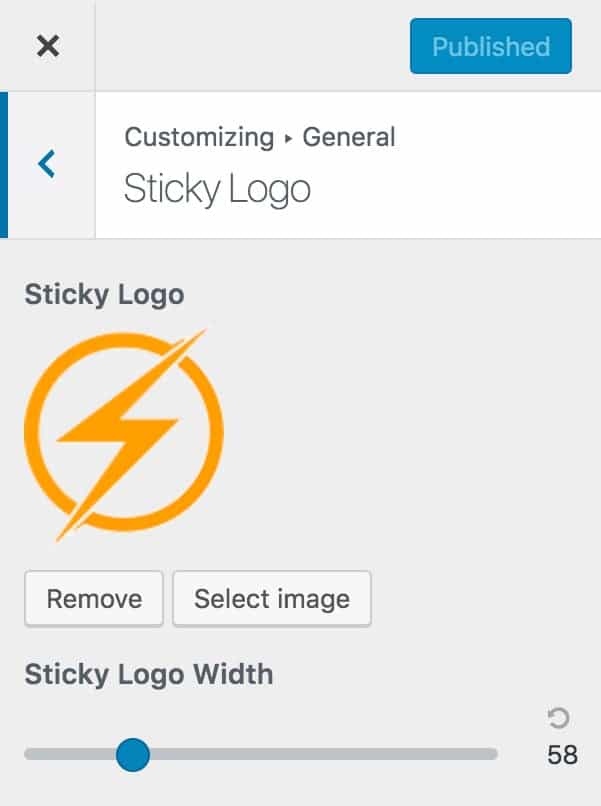
Sticky Logo
There is one last option – you can also add a ‘Sticky Logo’ – this appears in the bar which sticks when you scroll down the page. We’d recommend using just a logo mark rather than a full logo in this place. Think of the famous Nike swish as an example.
You can add it within General > Sticky Logo.