Before you start, ensure that:
- You have your own hosting platform running up to date stable versions of Apache/Nginx, PHP, MySQL. If you need hosting we recommend SiteGround.
- You have installed the latest version of self-hosted WordPress.
- You have logged in to WordPress and are looking at the WordPress dashboard.
New! Updated video tutorial
Before installation
It’s worth first firstly connecting your domain within the My Account section of your CommerceGurus account. Referencing your domain will allow you to update the theme in the future with one-click.
1. Install the theme
When you are ready to install a theme, you must first upload the theme to your WordPress directory. There are two ways you can install the theme:
Using WordPress: Navigate to Appearance > Themes > Install Themes. Go to upload and select the zipped theme folder (shoptimizer.zip) and hit install now and the theme will be uploaded and installed. Once you have uploaded the theme, you need to activate it. To activate your new theme, go to Appearance > Themes and activate your chosen theme.
Using FTP: By using an FTP program of your choice you can upload the non-zipped folder to the /wp-content/themes/ folder on your server.
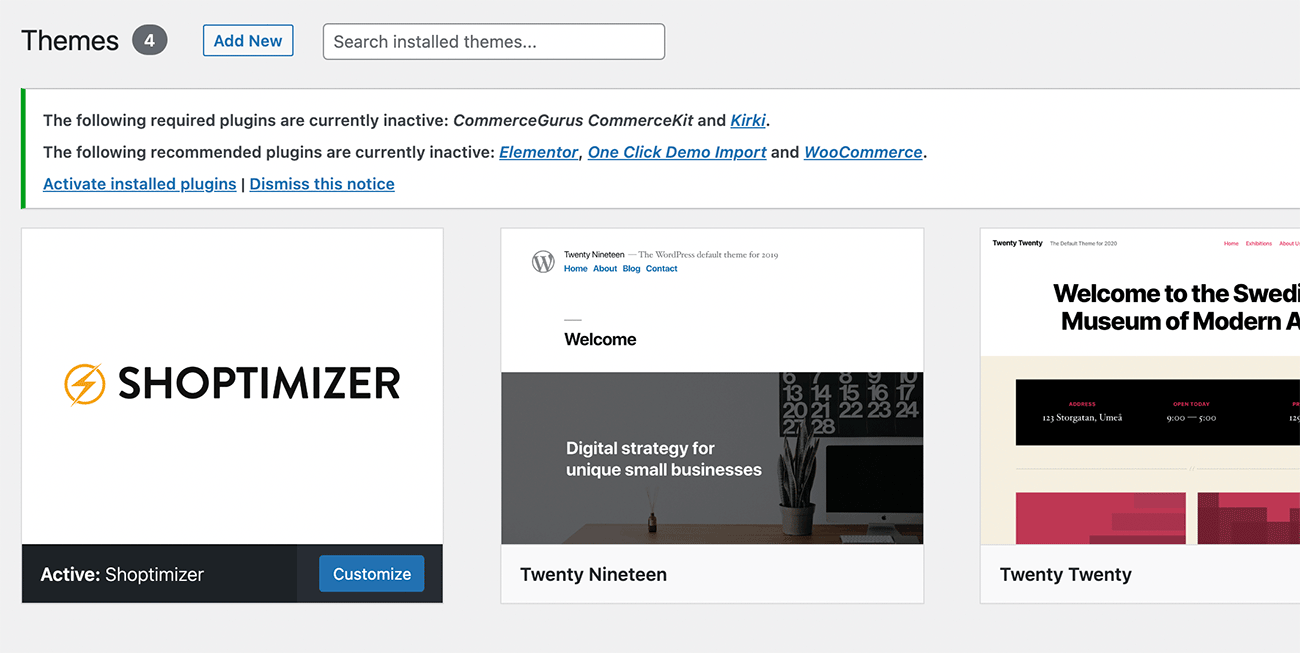
2. Install the required plugins
Once you’ve activated Shoptimizer, you’ll be prompted to install a set of plugins which are required to get the most out of Shoptimizer. The message will look like this:
Click the “Begin Installing plugins” option.
Tick the checkbox just under Bulk actions and from the Bulk options dropdown select “Install” and click “Apply“. Give it a few minutes to install all of them.
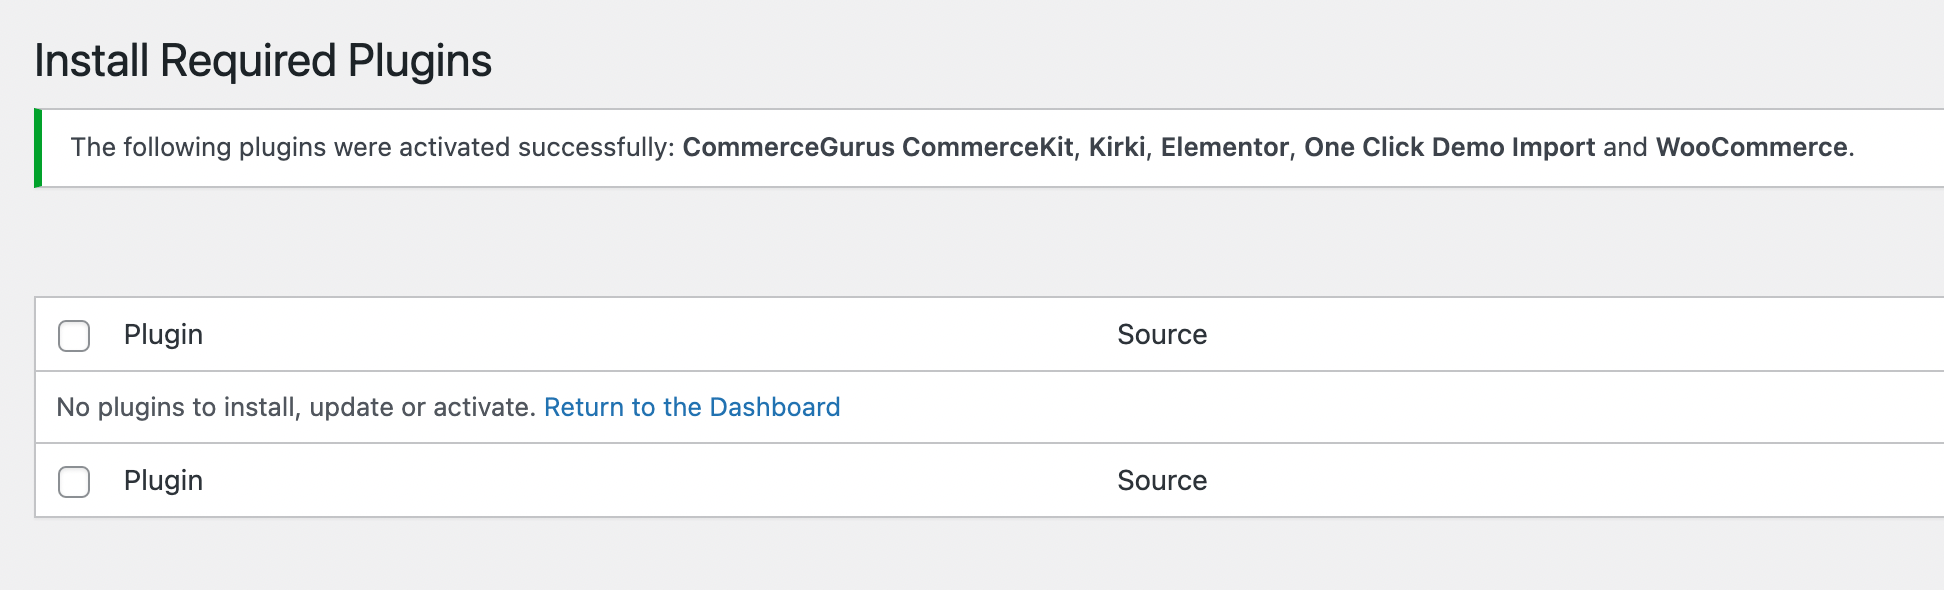
For simplicity, tick the checkbox just under Bulk actions and from the Bulk options dropdown select “Activate” and click “Apply“. This will activate all plugins that you’ll need for the theme.
You’ll know you’ve done everything correctly when you see this confirmation.
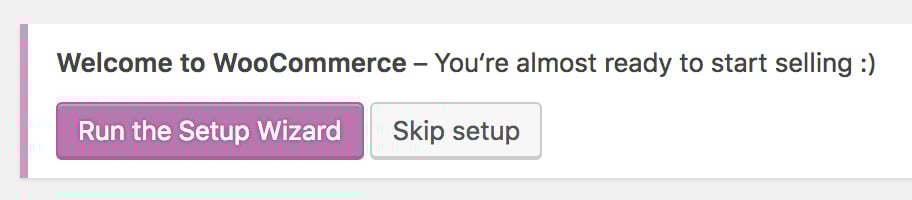
3. Set up WooCommerce
Run the WooCommerce setup wizard and setup your store, including your currency, location and payment methods.
4. Add the demo content
We highly recommend you add the demo content so you can get setup quickly. But you must activate all of the recommended plugins first (Step 2), especially Elementor.
Just go to Appearance > Import Demo Data

It can take up to 2 minutes to import the demo pages so don’t touch it! Once correctly imported you’ll get an “All done – Have fun!” message.
This adds the demo content as well as the widgets.
Have issues with the import?
- Try increasing the memory required by WordPress and then run the import again. Instructions
- On some hosts (we’re looking at you GoDaddy) the timeout limits are set very low which doesn’t allow it to complete. Solution
5. Set the menu
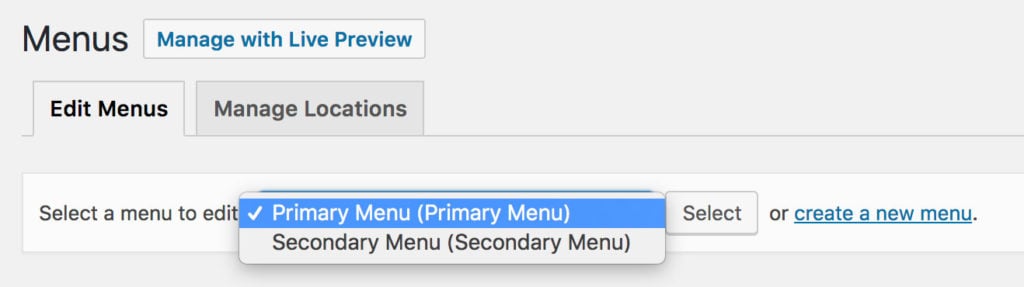
Go to Appearance > Menus and click on ‘Screen Options‘ at the top. Ensure that CSS Classes and Description is ticked. You may also want to tick Product categories and Products if these are not already selected.

You can switch between the Primary Menu (the main navigation) and the Secondary Menu (with icons next to the search bar).
You’ll need to set some pages yourself such as the Shop, Cart and Checkout. By default they’re hash links – replace this with the correct link to the page on your site – e.g. http://www.mysite.com/cart
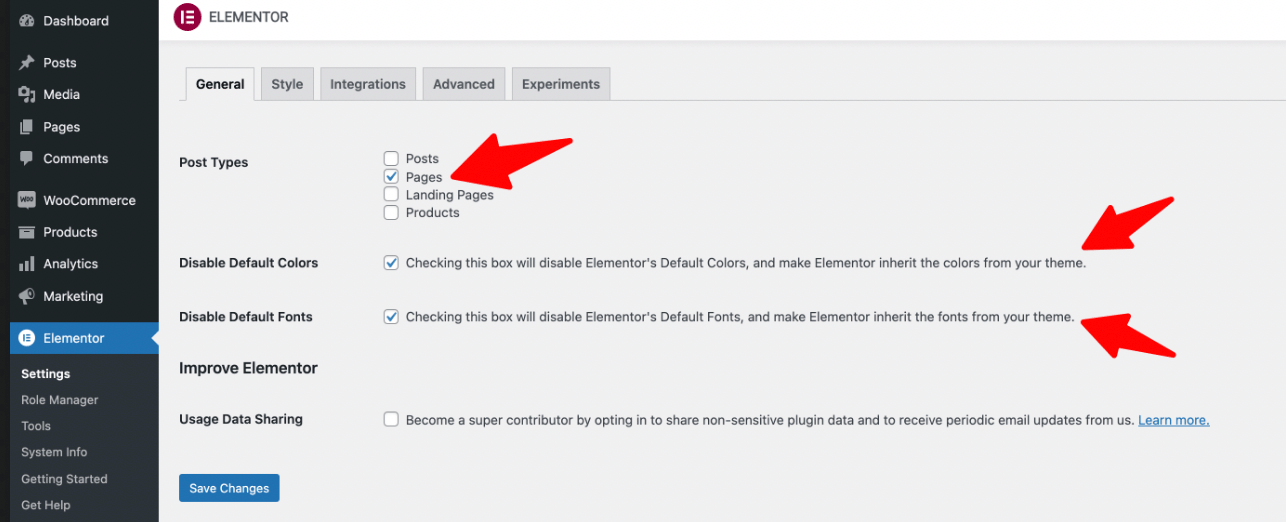
6. Set up the Elementor page builder
Go to Elementor > Settings. Disable Default Colors and Disable Default fonts like so. We recommend enabling Elementor for only Pages.
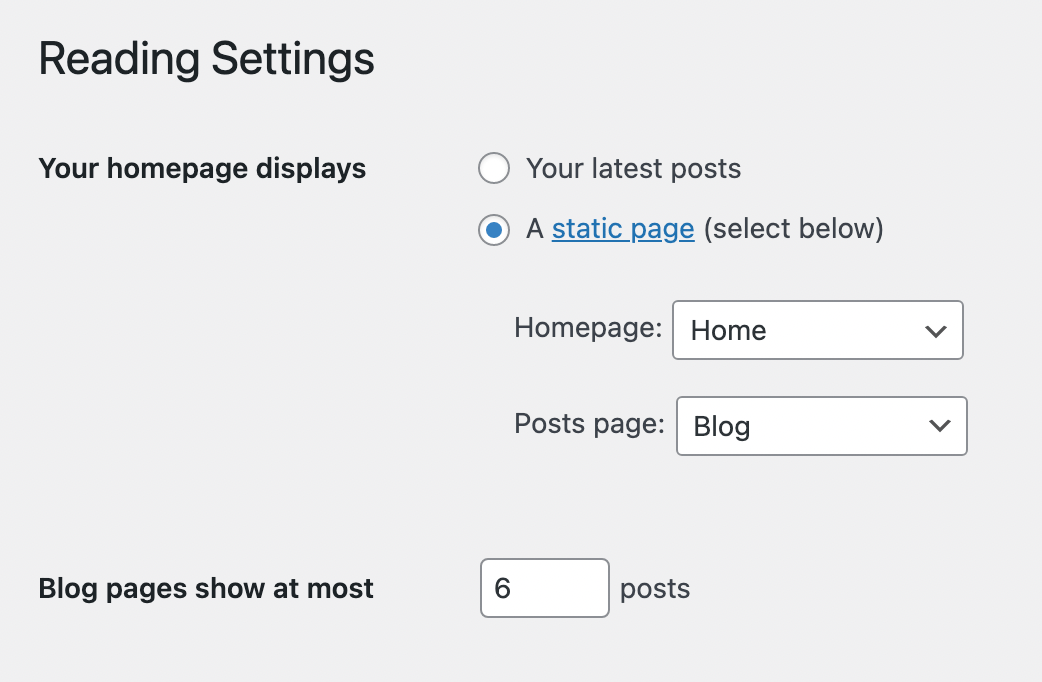
7. Set the homepage and blog
Go to Settings > Reading and set the Front Page to be ‘Home‘. Set the Posts page to be Blog.
Set the ‘Blog pages show at most’ to be 6.
8. Set image sizes
Still in the customizer, go to WooCommerce > Product Images
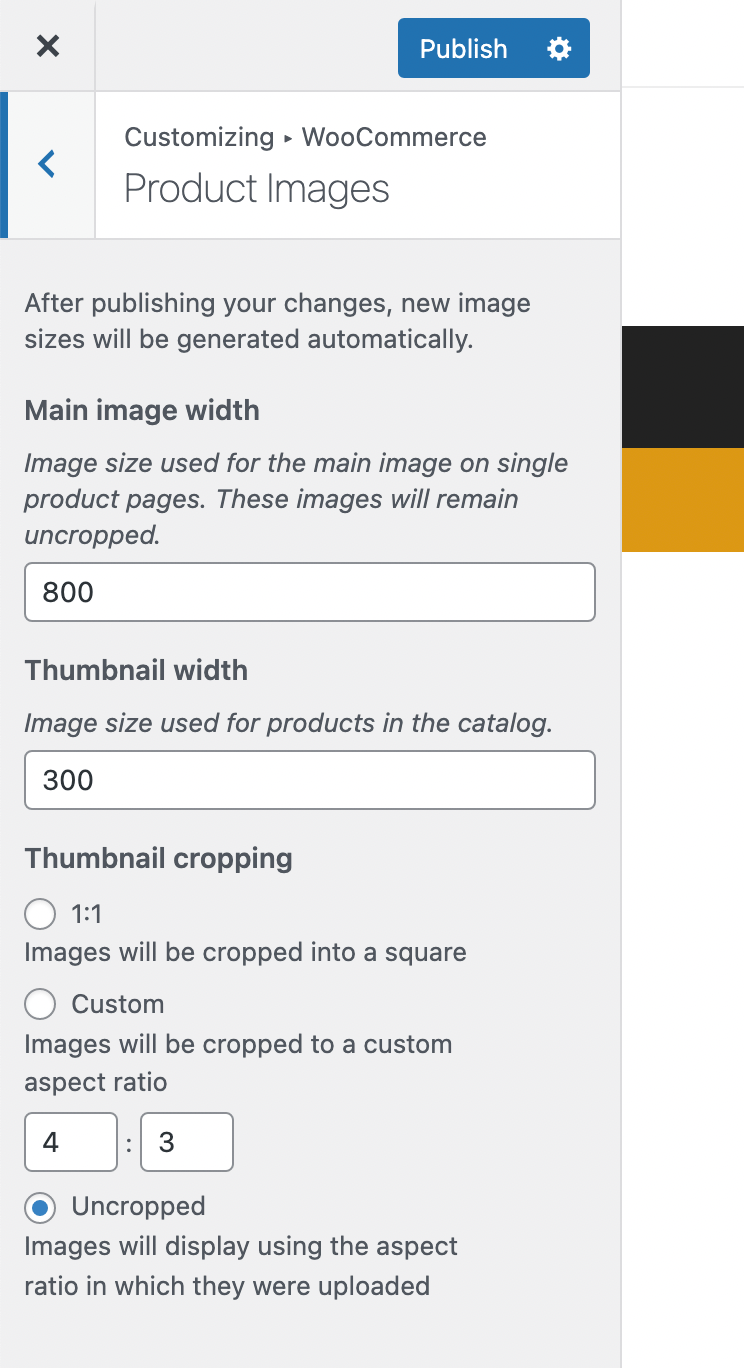
Set the Main image width to be 800 and the thumbnail width to be 300. Also ensure that Uncropped is selected.
9. Change Elementor layout width
Edit a content page in Elementor – e.g. the homepage – and follow the animation below to change the default width from 1140 to 1190px.
All done!
What we recommend you do next is setup some of the additional features such as the Ajax Search, Wishlist, Countdown Timers, and Order Bumps. You can do that by following this guide to our companion plugin Commercekit.
If you’re new to WooCommerce we’d highly recommend you taking a look through their comprehensive documentation. It covers all the basics including setting up products and payment gateways.